

Pick the right doll house style
Choosing a Barbie doll house starts with two questions: how much floor space do you have, and how often will it move? The answer determines whether you need a stationary, multi-story playset or a portable option that fits in a closet.
| Style | Space Needed | Portability | Best For |
|---|---|---|---|
| Traditional Multi-Story | Large (3-4 ft tall) | Low | Dedicated play rooms |
| Portable/Travel | Compact (Fits in bag) | High | On-the-go play |
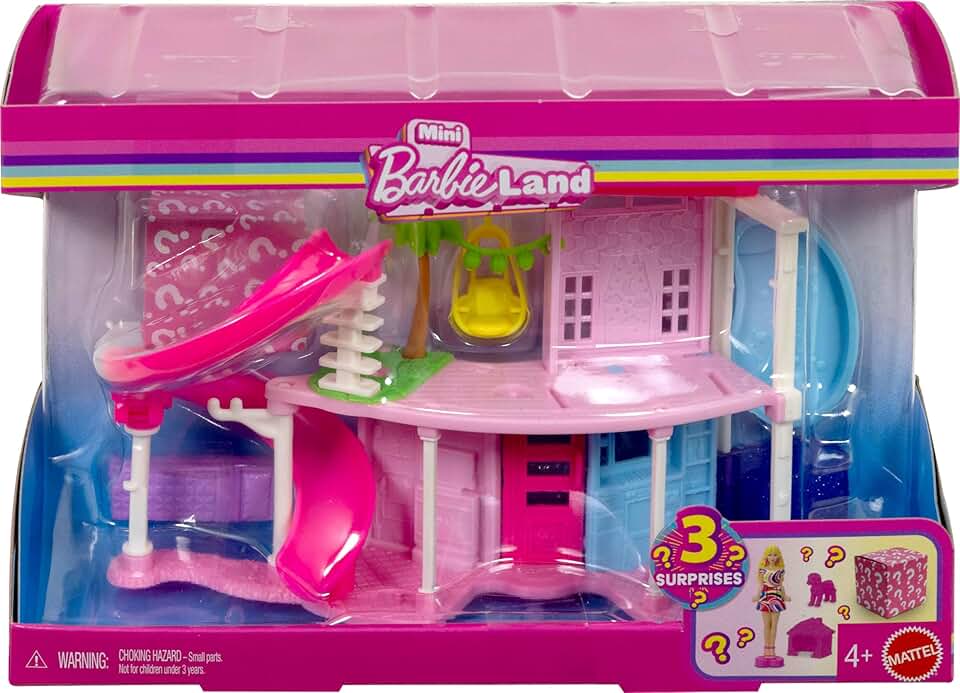
| Compact/Mini | Small (Tabletop) | Medium | Small apartments |
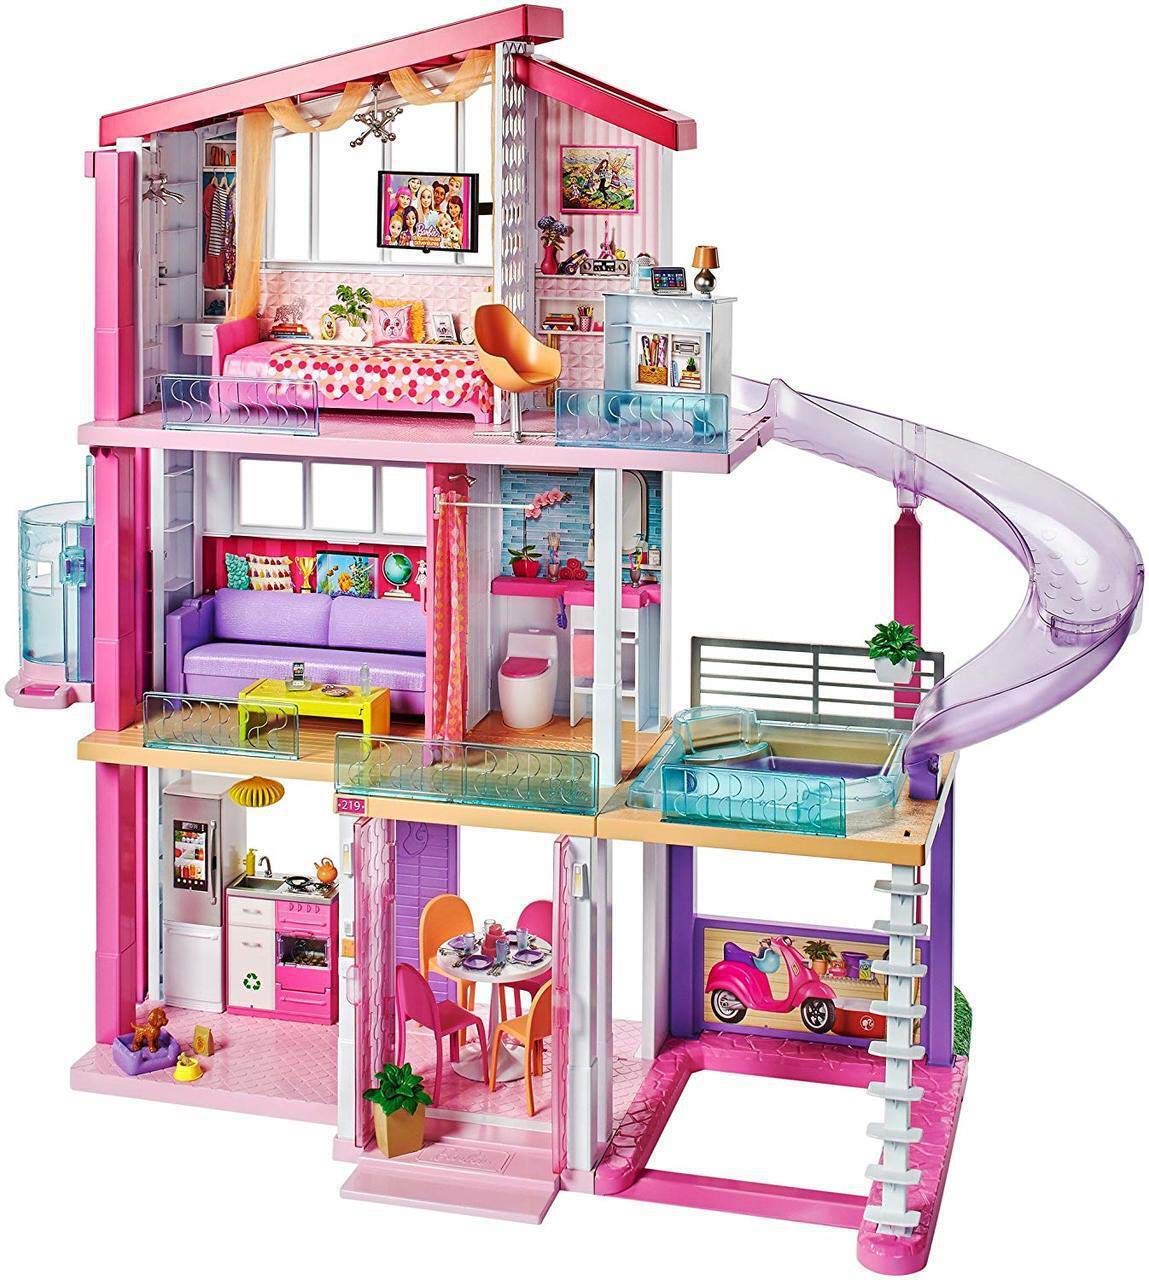
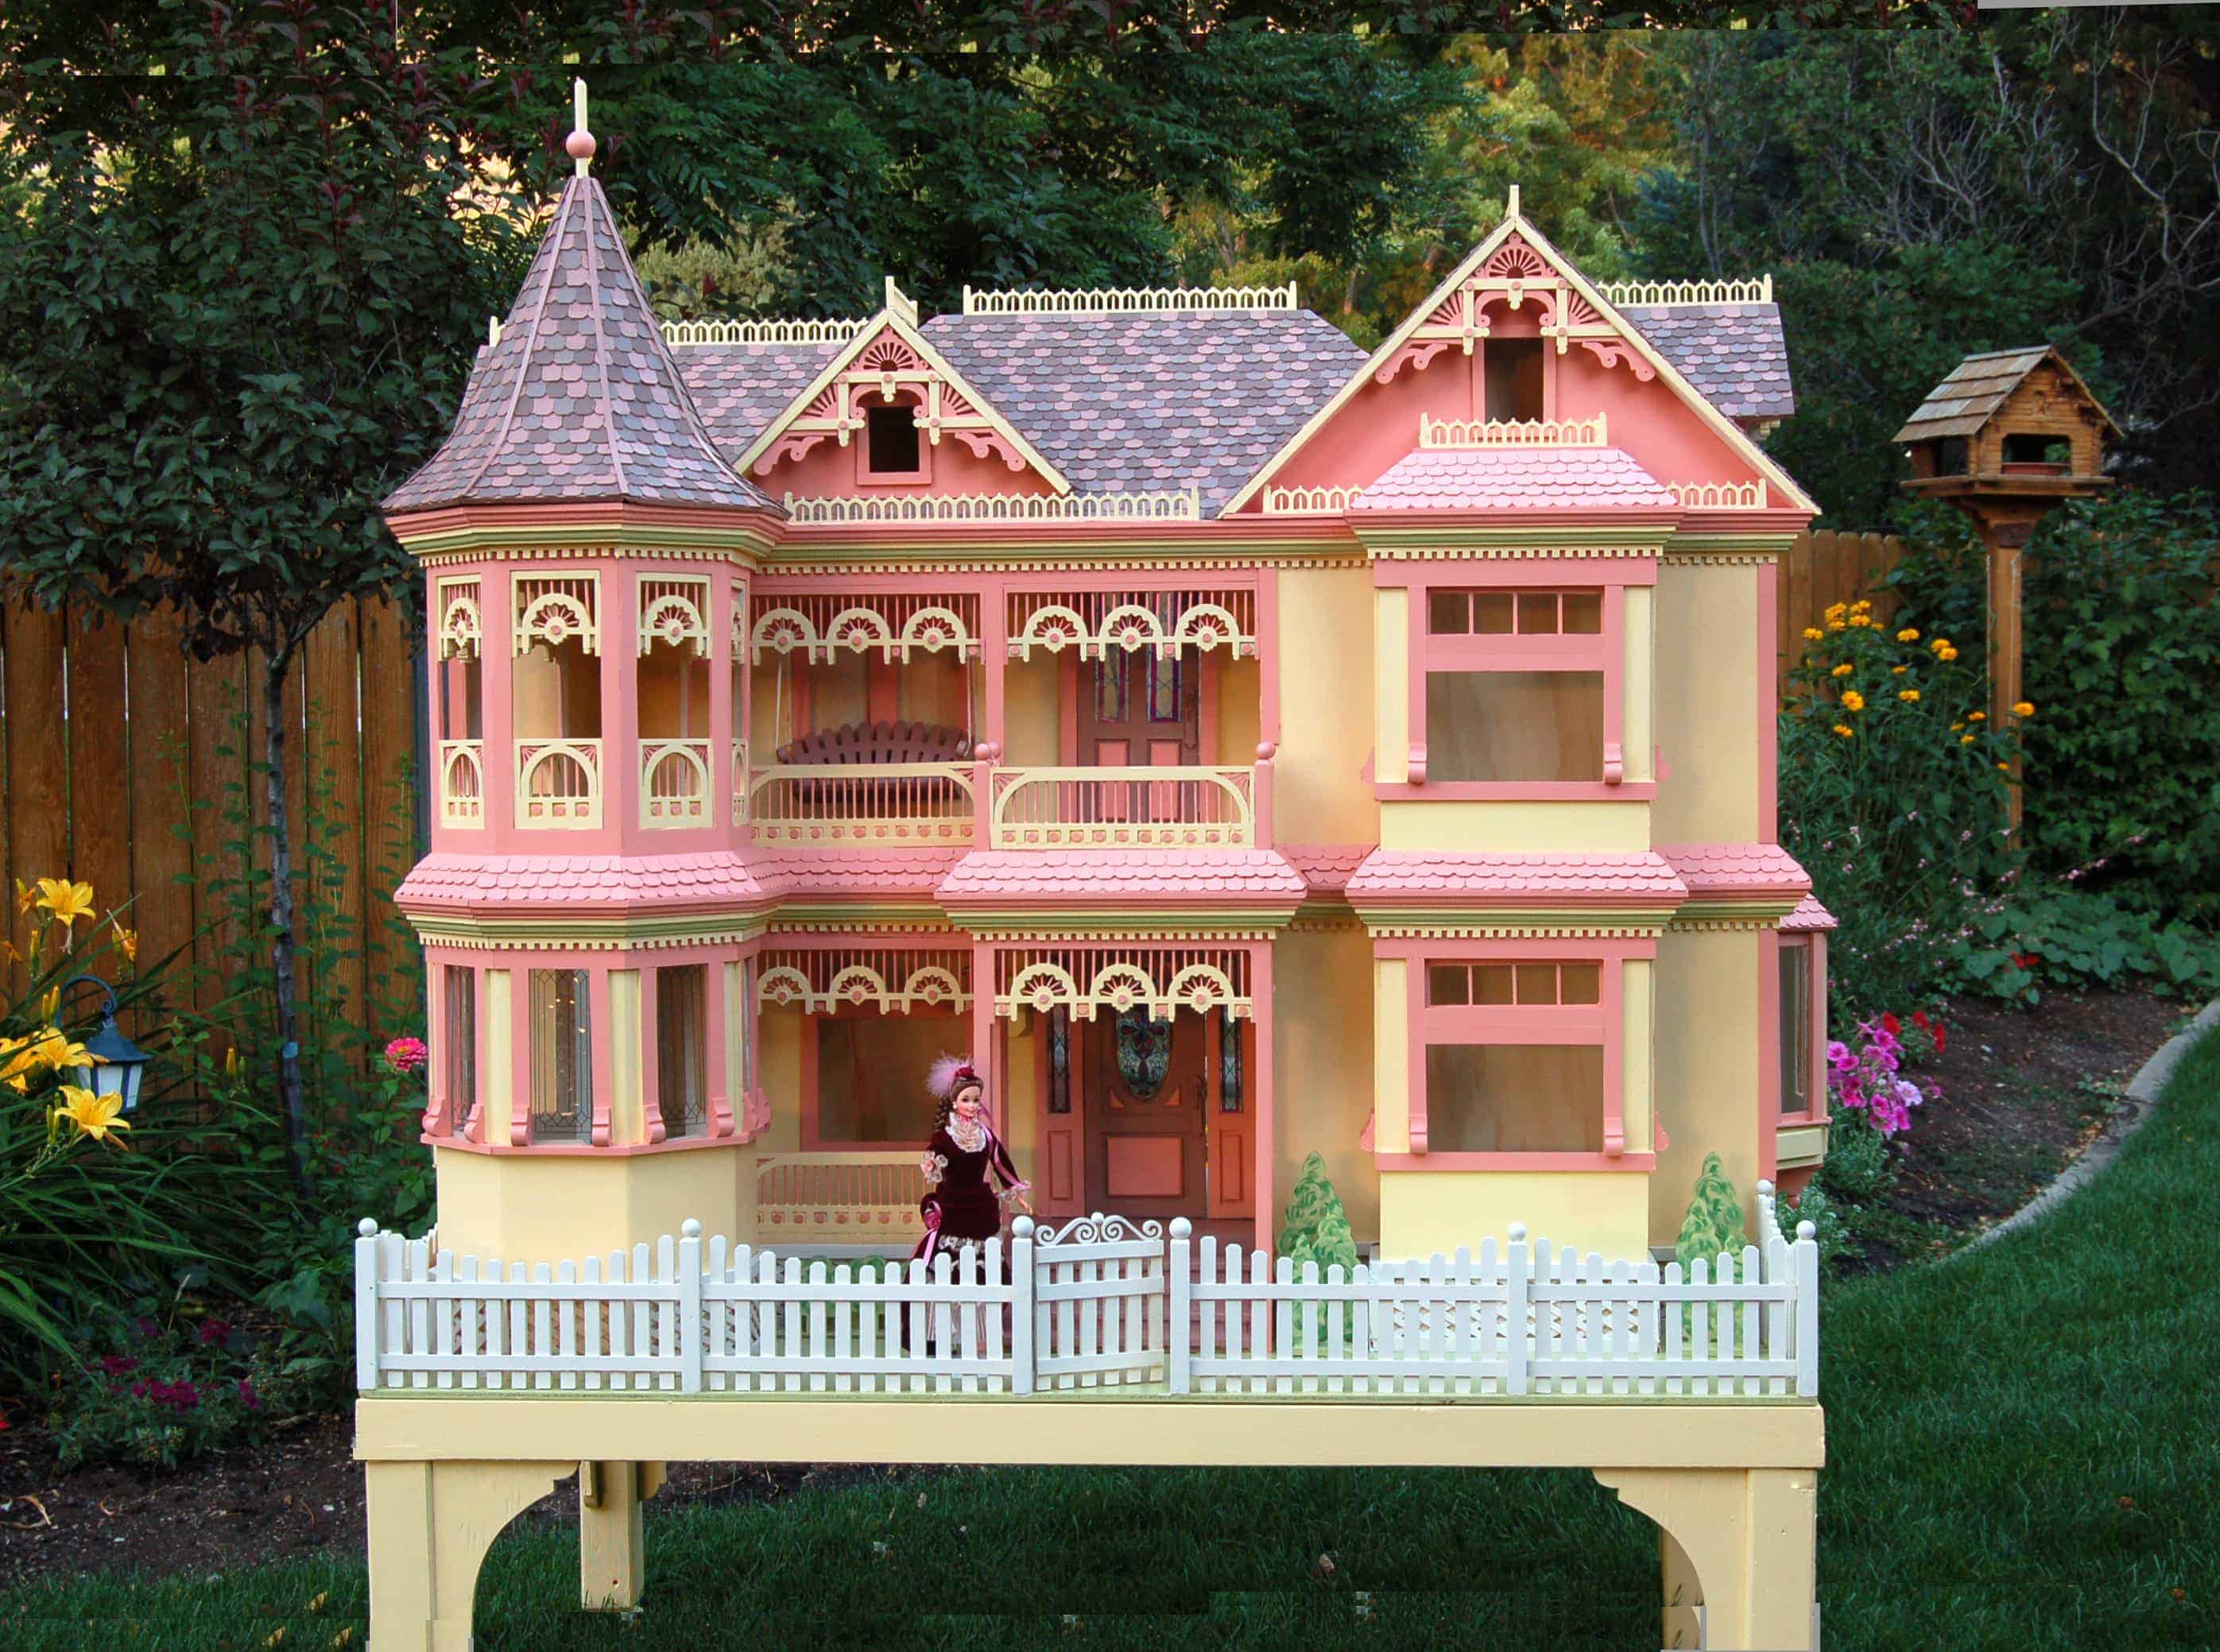
The traditional Barbie Dreamhouse is a landmark in doll play. It typically stands three to four feet tall, offering multiple floors, working elevators, and themed rooms like a kitchen or pool deck. These models are designed for stationary play. They stay in one spot, often becoming the anchor of a child’s play area. The trade-off is storage; these houses require significant floor space and can be difficult to move once assembled.

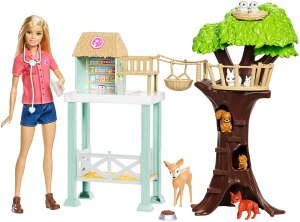
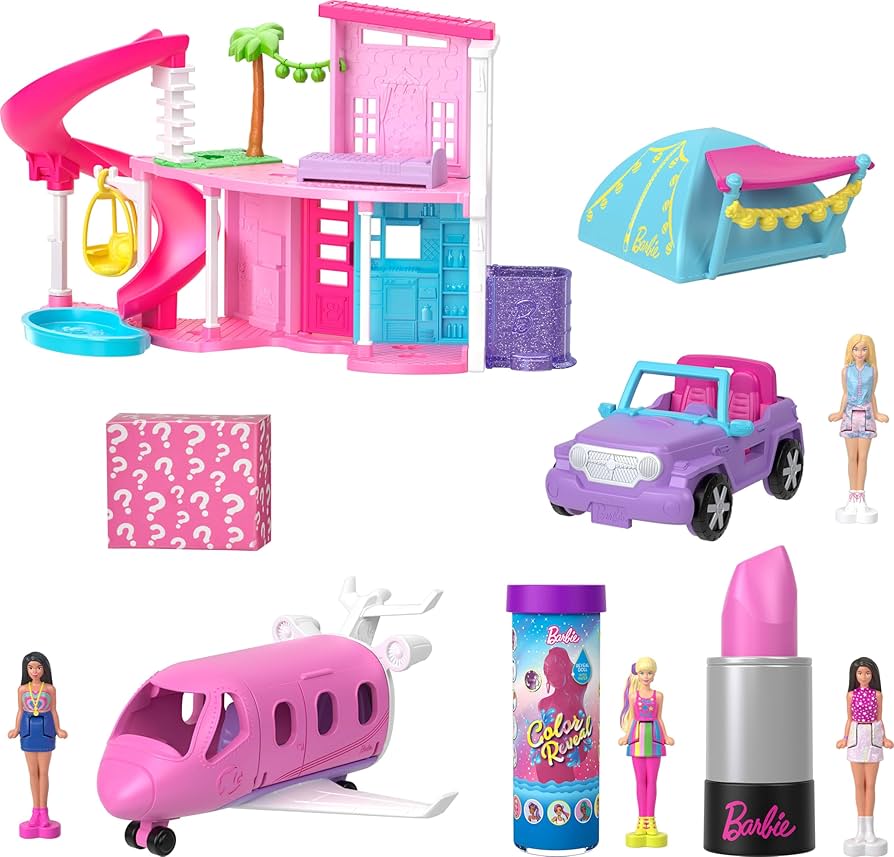
Portable options, such as travel dollhouses or compact playsets, solve the space problem. These versions often fold flat or snap together quickly, making them ideal for sleepovers, vacations, or homes with limited square footage. While they may lack the sprawling rooms of the full-size Dreamhouse, they keep the core play experience intact without demanding a permanent footprint.
As an Amazon Associate, we may earn from qualifying purchases.
Assemble the house frame and floors
Start by clearing a large, flat workspace. You will need room to lay out the pieces and maneuver the heavy base. Unpack the box and lay out the main structural components: the three-story base, the wall panels, and the floor platforms. Check the manual’s inventory list to ensure no screws or connectors are missing before you begin.
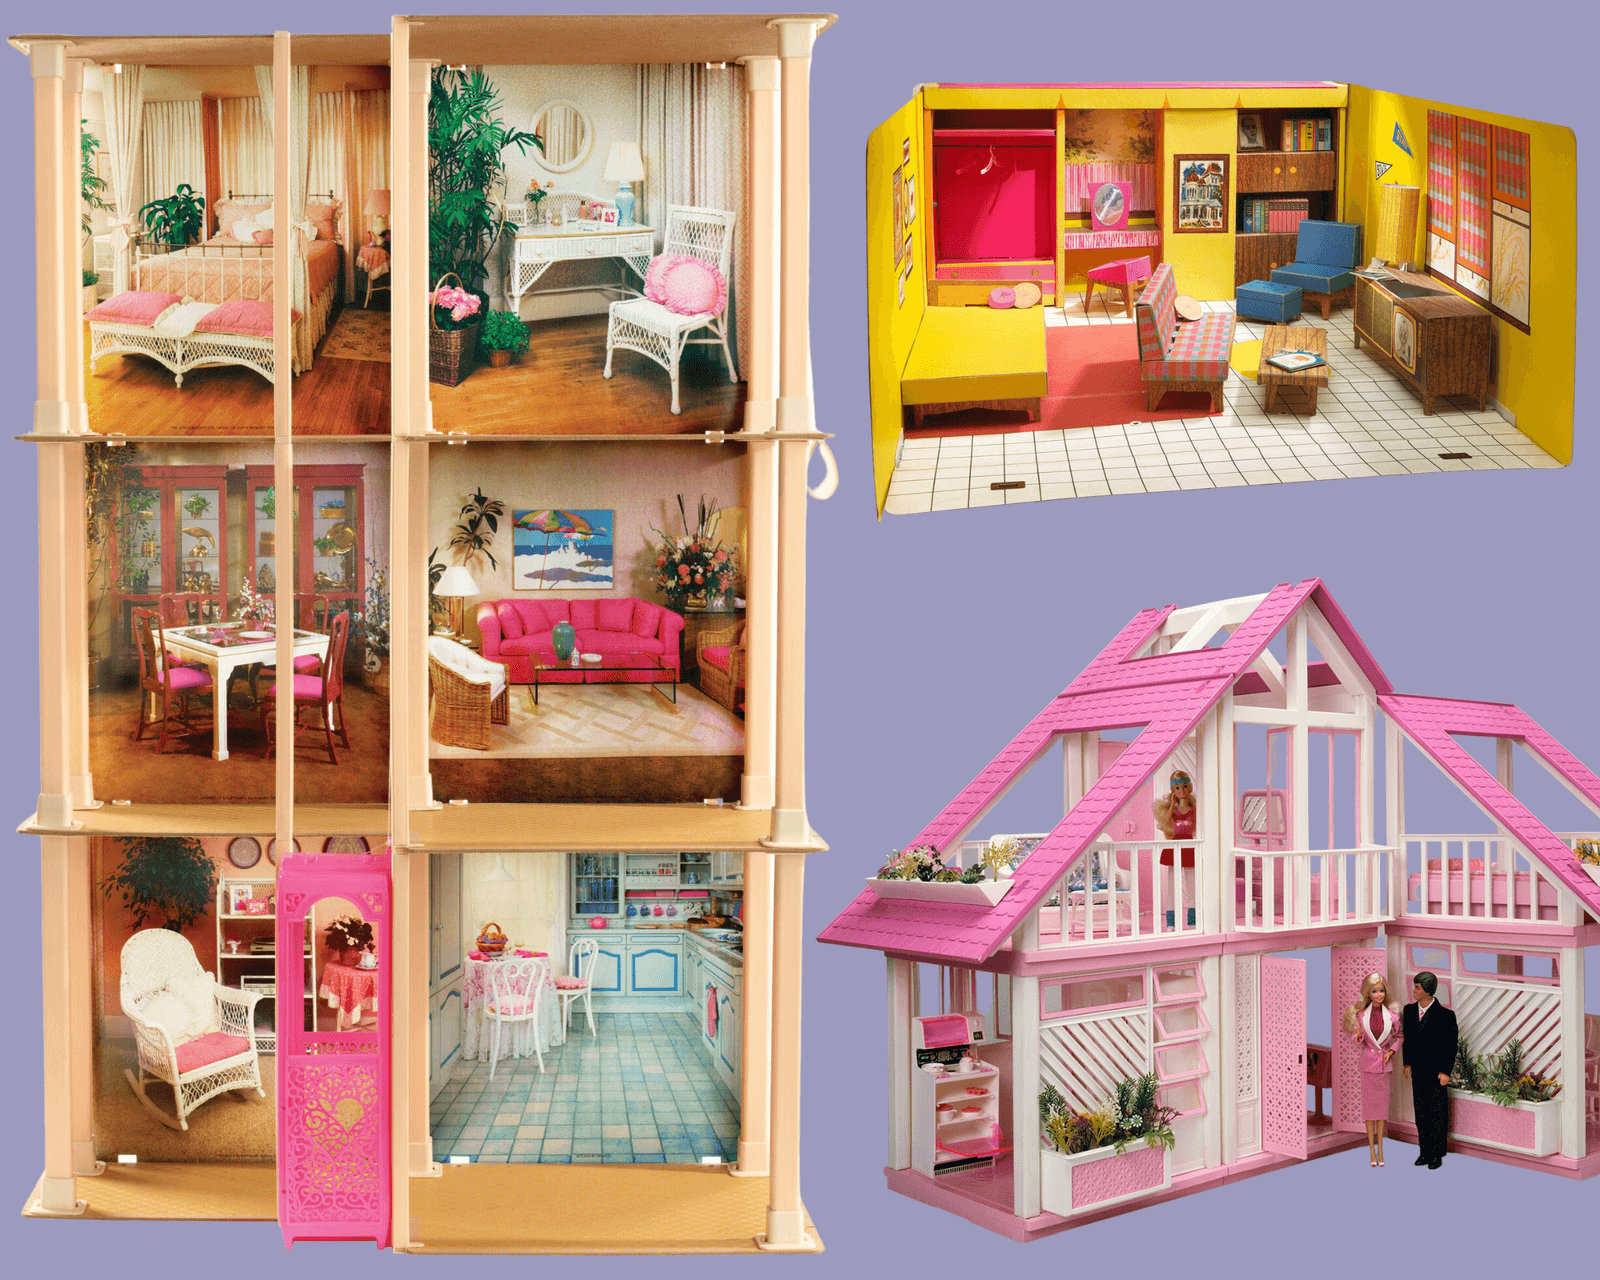
Position the large, rectangular base on the floor. This is the foundation for the entire structure. Align the pre-drilled holes on the base with the support brackets. Use the provided plastic connectors or screws to attach the corner supports firmly. Ensure the base is level; a wobbly base will cause alignment issues for the floors above.
Slide the ground-floor wall panels into the slots on the base. These panels usually feature interlocking tabs that snap into place. Press firmly along the seams to ensure a tight fit. If the panels feel loose, check that the base connectors are fully seated. The first floor sets the alignment for the rest of the house, so take your time here.
Place the second-floor platform onto the wall supports. This piece often acts as a bridge between the lower and upper levels. Secure it using the provided screws or clips, ensuring it sits flush against the walls. This step is critical for stability; a loose second floor can cause the entire structure to lean. Double-check that all wall panels are still aligned before tightening the final screws.
Attach the final wall panels for the third story. These are often lighter and may include cutouts for windows or balconies. Once the walls are up, place the roof section on top. Secure the roof to the third-floor walls. The roof should lock into place, completing the main shell of the Barbie Dreamhouse. Ensure all connections are tight to prevent the house from tipping over during play.
Once the frame is assembled, give the structure a gentle shake test. If it feels solid, you are ready to add the interior details and furniture. A stable frame ensures the house lasts through years of play.
Install lights, sounds, and elevators
The electronic features are what turn a plastic structure into a living playset. Getting the wiring and power right ensures the lights, sounds, and elevator function smoothly. Follow this sequence to connect everything without frustration.
Open the battery compartment, usually located in the basement or attic. Use fresh alkaline batteries, as recommended by Mattel. Ensure the positive and negative ends align with the diagrams inside the compartment. Weak batteries cause flickering lights and sluggish elevator motors.
Locate the main power cord extending from the house’s base. Plug it into the power adapter, then connect the adapter to a wall outlet. If your model has a separate control panel, ensure the cable clicks securely into its port. A loose connection is the most common cause of total system failure.
Press the buttons on the control panel or use the included Barbie doll to activate features. Check that the kitchen oven lights up, the fireplace crackles, and the elevator moves between floors. Listen for clear audio cues from the house’s speakers. If a feature doesn’t respond, check the corresponding circuit connector.
If the elevator stalls or lights flicker, check the internal wiring harnesses. These plastic connectors can come loose during assembly. Disconnect the power, remove the relevant wall panel, and reseat the connectors firmly. Once reconnected, the system should reset and function normally.
Arrange furniture and accessories
Start by placing the largest pieces in each room to establish the layout. The Barbie Dreamhouse is designed for standard 12-inch dolls, so most official furniture fits perfectly without modification. Think of the dollhouse like a miniature apartment; if you block the doorways or leave no floor space for the doll to stand, the scene won't work.
Place sofas, beds, and dressers against the walls first. This keeps the center of each room open for play. Once the big items are set, add smaller accessories like lamps, books, or kitchenware. These details make the rooms feel lived-in and give the doll something to interact with.
Check the scale as you go. Some third-party furniture might be slightly larger or smaller than Mattel's official pieces. If an item looks out of place, swap it for something that matches the height of the doll's head or torso. The goal is a balanced look where every piece feels like it belongs in that specific space.
Avoid common assembly mistakes
Even with clear instructions, forcing parts during setup is the fastest way to crack plastic or strip clips. Take your time aligning each floor before snapping it into place. If a piece resists, check that the tabs are oriented correctly rather than pushing harder.
Misaligned floors often result from skipping the interlocking step. Ensure each level clicks firmly into the previous one before moving to the next. This creates a stable base for the elevator and stairs, preventing wobbles later.
Battery issues are another frequent headache. Always check polarity before closing the compartment. Inserting batteries backward can damage the electronics and leave the elevator stuck mid-rise.
Quick Pre-Play Checklist
-
Verify battery polarity matches the diagram.
-
Ensure all floor clips are fully secured.
-
Test elevator movement before attaching railings.
Frequently asked questions about setup
What batteries does the Barbie Dreamhouse use?
Most modern Barbie Dreamhouse models require D-cell batteries for their lights and sound features. Check the packaging or the battery compartment label to confirm the exact count and type before you start playing. Replace them when the audio or lighting effects become weak.
How long does assembly take?
Adult assembly typically takes 30 to 60 minutes, depending on the model’s complexity. Larger houses with elevators and multiple floors require more time to connect the wiring and secure the panels. Having a Phillips-head screwdriver nearby will speed up the process.
Does it fit standard Barbie dolls?
Yes, the Barbie Dreamhouse is designed to fit all 12-inch Barbie dolls, including Chelsea and Skipper. The room dimensions are standardized to accommodate the dolls’ height and accessories. You can also use compatible Mattel vehicles and furniture sets inside.
No comments yet. Be the first to share your thoughts!