

Check the setup requirements
Before you start building, verify the physical space and power needs for your chosen dollhouse. Barbie setups range from compact single-story units to multi-level Dreamhouses that require significant floor space and wall clearance. Measure your play area to ensure there is room for the house's footprint plus at least two feet of clearance for opening doors, accessing elevators, and moving dolls between rooms.
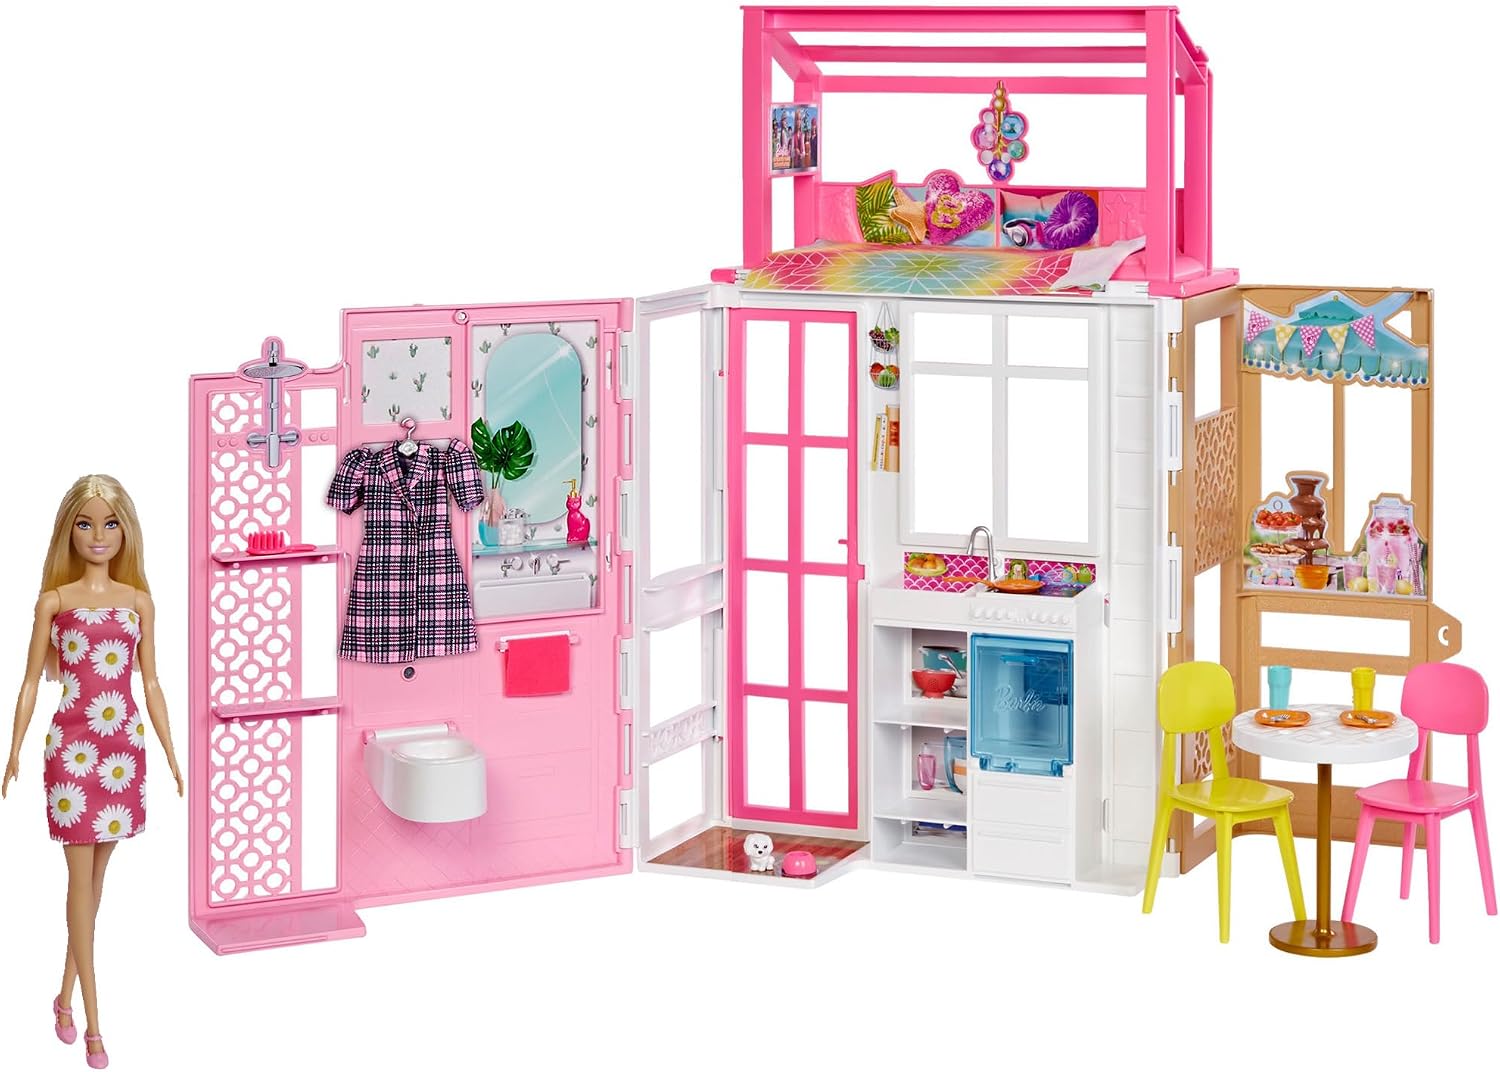
Space and Power Verification
Most modern Barbie houses, particularly the DreamHouse series, rely on battery-powered features like motorized elevators, slide mechanisms, and sound effects. Check the packaging for specific battery requirements—typically AA or AAA batteries—and ensure you have spares on hand. If your chosen model includes electrical outlets or light-up fixtures, confirm whether it uses standard household power or internal batteries, as this affects where you can place the unit.
Assembly and Stability
Many large dollhouses arrive in multiple boxes that must be assembled before play. Review the included instructions to determine if you need additional tools, such as a screwdriver, or if the pieces snap together. Ensure the floor surface is level to prevent wobbling, which can damage delicate furniture or cause the structure to tip. For younger children, verify that all components meet age recommendations, typically three years and up, to avoid choking hazards from small accessories.
-
Measure floor space for house footprint + 2ft clearance
-
Check battery type (AA/AAA) for motorized features
-
Confirm assembly tool requirements (screwdriver, etc.)
-
Verify age appropriateness for small parts
Configure it in order
Setting up a Barbie doll house is more than just snapping walls together; it’s about building a functional world for play. Whether you’re assembling the multi-level Barbie DreamHouse or a smaller starter home, the order of operations matters. A rushed setup leads to wobbly floors, mismatched furniture, and frustrated kids.
Follow this sequence to ensure your setup is sturdy, safe, and ready for immediate play. We’ll move from the structural foundation to the final decorative touches, ensuring every piece fits exactly where it should.
Assemble the base and floors
Start with the foundation. Most dollhouses come with a cardboard or plastic base that supports the weight of the upper levels. Place the base on a flat, stable surface. If your house has multiple floors, insert the floor panels into the designated slots on the base. Ensure they click or slide in securely. A loose floor is the most common cause of structural collapse during play.
Install the walls and frame
Once the floors are secure, attach the exterior walls. Align the wall tabs with the floor slots. Press firmly until you hear a click. For larger models, install the internal partition walls next. These divide the rooms and provide structural integrity. Check that all walls are perpendicular to the base. If a wall feels loose, double-check the floor alignment before proceeding.
Connect the elevator and stairs
This is the critical mechanical step. If your model includes an elevator, insert the track pieces first. The elevator car must slide freely up and down the track. Test it several times before sealing the walls. For staircases, align the steps with the landings. Ensure there are no gaps where small fingers or doll feet could get pinched. A smooth transition between floors is essential for storytelling.
Place the furniture and accessories
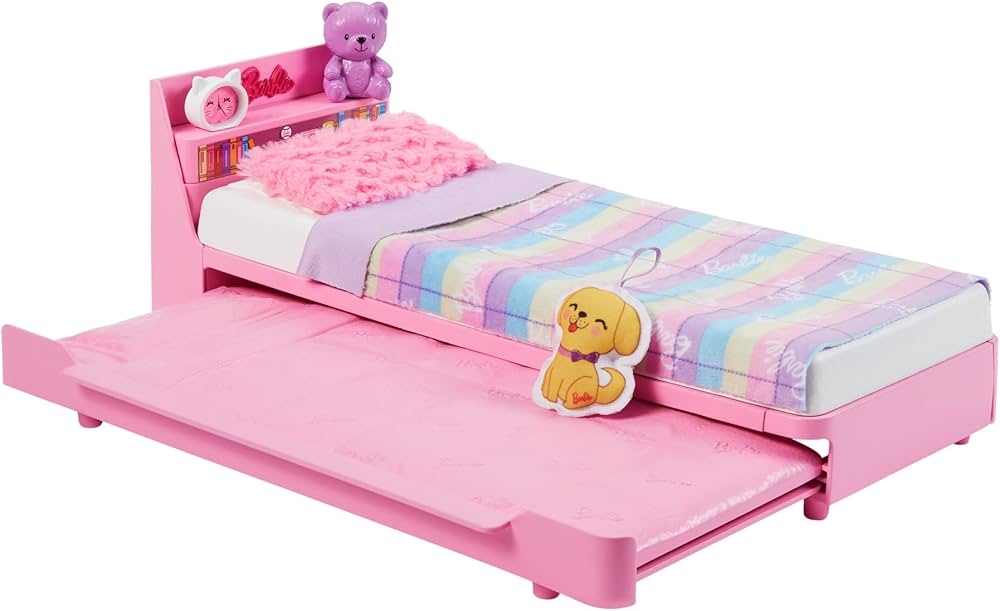
With the structure complete, it’s time to fill the rooms. Start with larger items like beds, sofas, and kitchen units. These anchor the room’s layout. Then, add smaller accessories like plates, books, and decor. Organize items by room to keep play organized. Avoid overcrowding; leave enough space for dolls to move and interact with the furniture.
Final inspection and play
Do a quick shake test. Gently wiggle the house to ensure all connections are tight. Check that the roof (if included) is secure. Turn on any lights or sound features to verify they work. Your Barbie doll house is now ready. Let the play begin.

As an Amazon Associate, we may earn from qualifying purchases.
Mistakes that break the setup
Even the best Barbie doll house setups fall flat when the foundation is unstable or the layout ignores how kids actually play. A wobbly structure or cluttered rooms turns a dream home into a frustration. Fix these common errors before you invite the dolls in.
Unlevel surfaces and wobbly floors
A dollhouse is only as good as its base. If the floor isn't flat, doors won't close, and furniture slides off shelves. Always place the house on a hard, level surface like a wooden table or carpeted floor. Avoid soft couches or uneven rugs that cause tilting. Test the stability by gently shaking the frame; if it rocks, add felt pads to the bottom corners to stabilize it.
Overcrowded rooms
Kids need space to move dolls and accessories. Squeezing too much furniture into small rooms makes the setup look messy and limits play. Start with one or two key pieces per room, like a bed and a lamp. Add smaller accessories only when the space allows. This approach keeps the rooms functional and makes cleaning up easier after playtime.
Ignoring power requirements
Many modern Barbie doll houses feature lights, sounds, and elevators that require specific power sources. Forgetting to plug in the transformer or using the wrong voltage can break the electronics permanently. Check the manual for power needs before assembling. If the house uses batteries, ensure they are fresh and inserted with the correct polarity. Keep extra batteries on hand so the fun doesn't stop when the lights go out.
Barbie doll house: what to check next
Before you commit to a specific setup, it helps to understand the price tiers, safety requirements, and feature trade-offs. The following answers address the most common practical objections parents and collectors face when shopping for dollhouses in 2026.
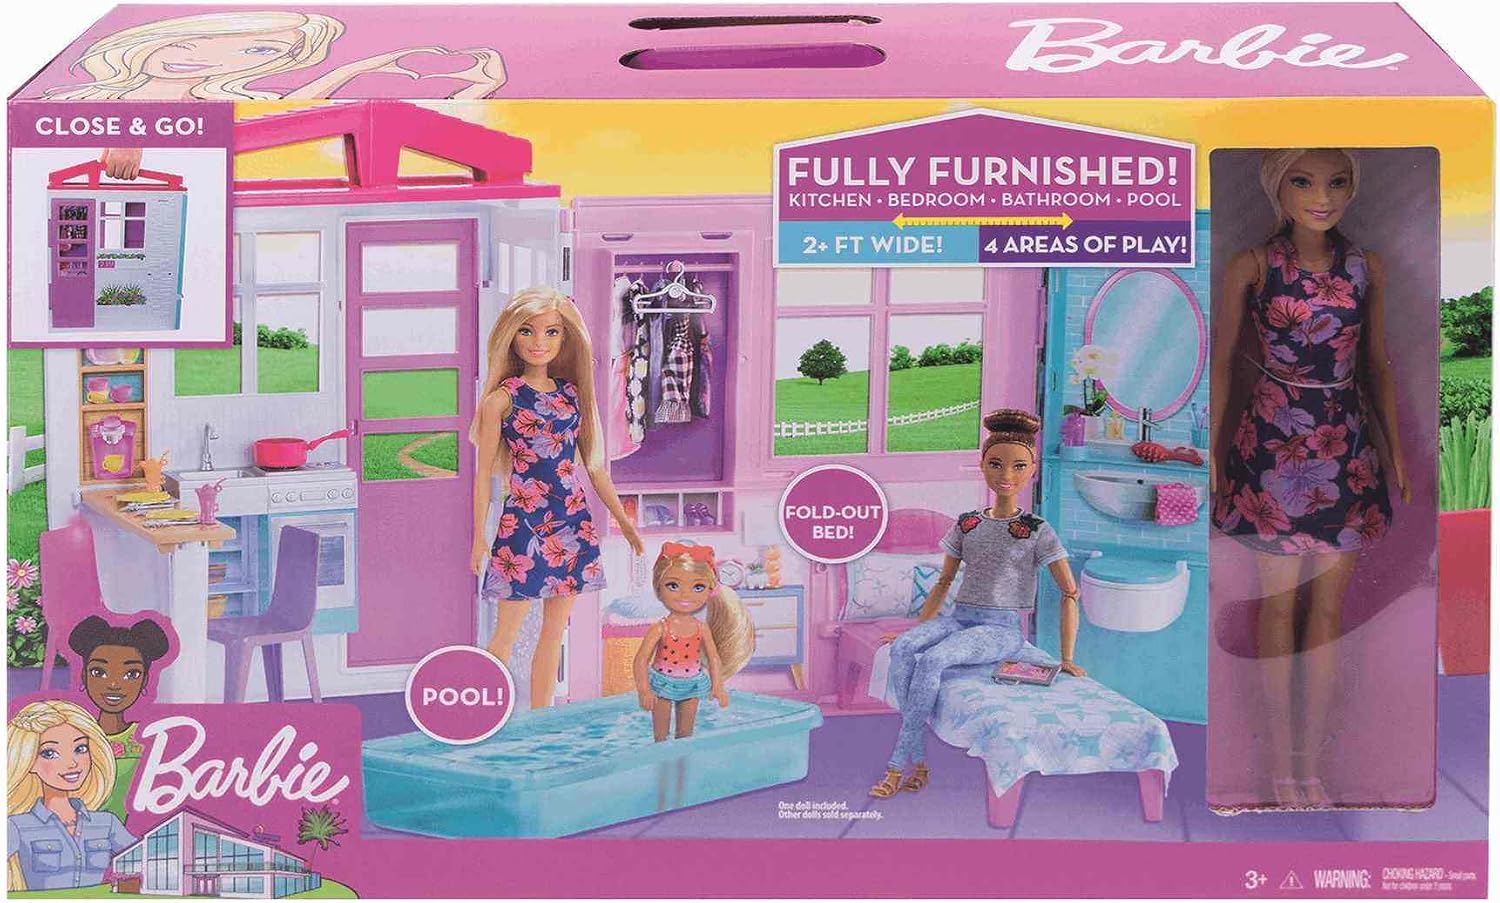
Work through the Barbie Doll House setup
No comments yet. Be the first to share your thoughts!